.avif)
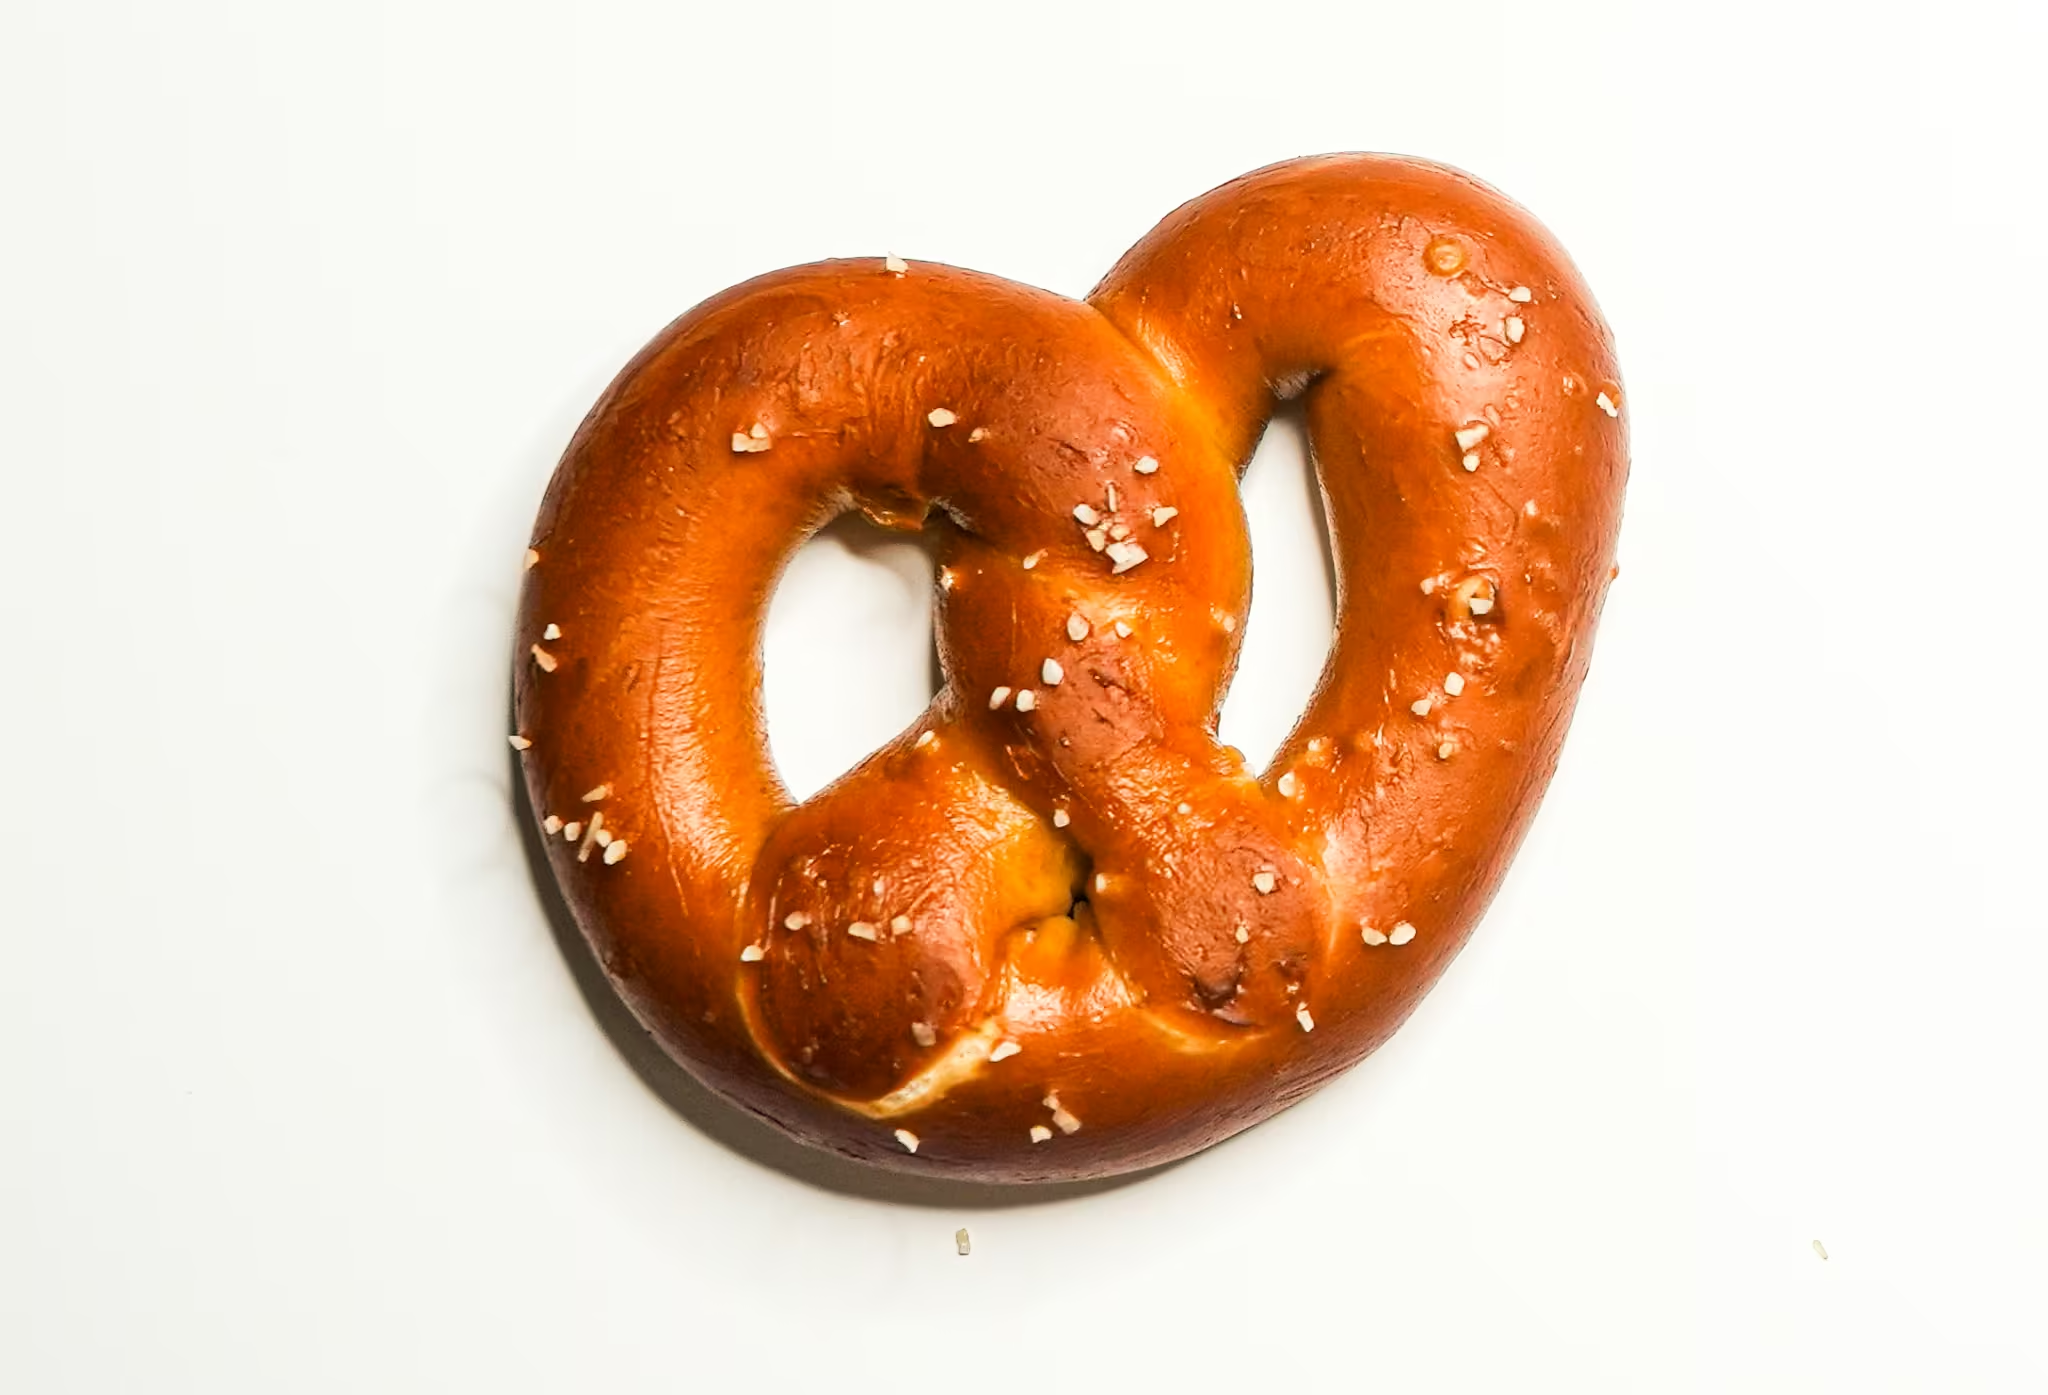
Authentic Soft Pretzels (with a lye bath)


My Authentic Soft Pretzels feature a robust, browned exterior and deep roasted flavors from a quick dip in a lye bath. The interior remains cottony-soft with a slight buttery flavor. I’ve tested many different ways to make pretzels, and this is still my favorite as it produces the most authentic flavor.
How is a lye bath different from baking soda-based baths?
Alkaline baths are responsible for a pretzel's flavor, texture, and appearance. And there are a few different ways to make these high-alkaline baths; however, the strength of each will vary a bit.
A regular baking soda bath can range from pH 8-9; a “baked” baking soda bath can reach up to 12, whereas a lye bath can reach 13 or higher. (For reference, a common pH scale ranges from 0 to 14.) Although these numbers may seem close, remember the pH scale is logarithmic, so each whole number represents a 10-fold increase. In other words, going from a baking soda bath (pH 9) to a lye bath (pH 13) is going up in alkalinity 10,000 times! (104)
.avif)
So what does this super-powered lye bath do? First, it enhances the Maillard reaction, producing delicious, roasted, and toasted aromatic compounds. This reaction also produces brown byproducts (melanoidins), which give the pretzel its characteristic deep mahogany color. Lastly, this alkaline environment also initiates the gelatinization of the surface starches, which bake into a shiny exterior on the finished pretzels.
Step by step:
This recipe is a variation of my Easy Soft Pretzels, which use a “baked” baking soda bath instead. The concepts, bread methodology, and dough ingredients are the same. The only difference from the recipe below is the use of a lye bath, which is made after the dough is made. I suggest giving the Easy Soft Pretzel article a brief read if you need guidance on making the dough.
When you're done making the pretzel dough and it's doing the final rest, you'll need to make the lye bath:
While the shaped pretzel dough is resting, you’ll need to preheat the oven by placing a rack in the center and heating it to 425°F (220 °C).
Next, place a wire rack onto a parchment-lined tray. This is to drain your pretzels post-dipping, so ensure the wire rack can hold your large pretzel shapes.
.avif)
Protect your worktop. I have a silicone mat I use now, but I’ve also cut open a plastic shopping bag to place my lye bath on. Even though our solution is diluted, it can still potentially discolor your countertops. I also gather my protective equipment, such as gloves and goggles (currently on my face!), But I’m a dummy and forgot to take them off for the photo :) Also pictured are my stainless steel bowl, a slotted (errr, holey) spoon, pretzel salt, and sodium hydroxide.
Put on your protective gloves and goggles - we’re going to make the lye bath now.
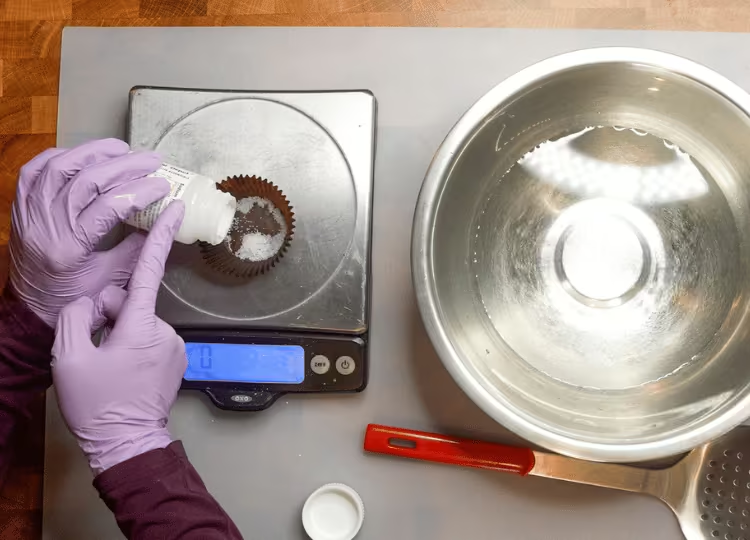
Measure out your sodium hydroxide. I use a cupcake liner.
.avif)
“Do as you oughta, add acids (and bases) to water.”
We always want to add acids and bases to the water, and not the other way around. This prevents splashes and localized overheating, which can erupt spontaneously.
Add 500 g (2 cups) of cold water to a non-reactive container, such as stainless steel. Slowly add your lye.
.avif)
Stir until completely dissolved. Combining lye and water is an exothermic reaction, meaning it releases heat. As such, you will feel the bowl get warmer as you mix the two.
Dip your pretzels.
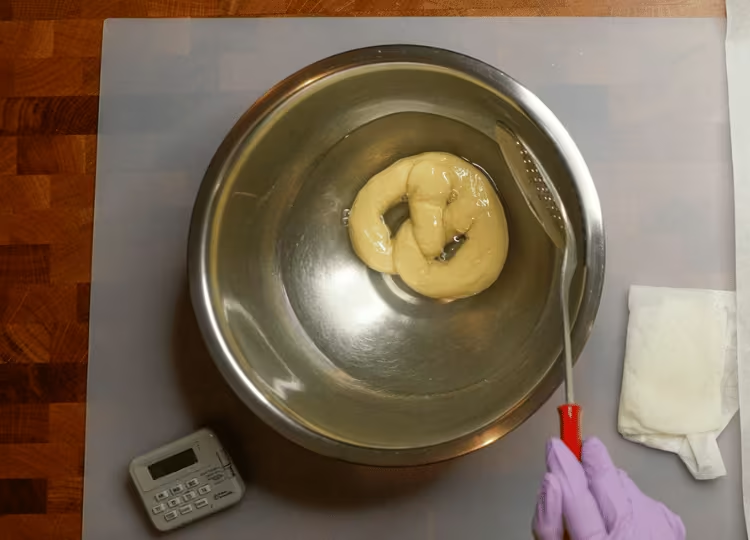
Place your pretzel on a slotted spoon or spider, then place it in the lye bath. Leave them in the bath for 30 seconds, flipping once during this time to ensure both sides are immersed in the solution.
Remove each pretzel, allowing the solution to drain, and place them onto your prepared wire rack.
Once all the pretzels have been dipped, move them back to their oiled-parchment-lined baking trays.
Sprinkle lightly with pretzel/coarse salt (or pearl sugar) if you are serving these the same day. (Leaving coarse salt on baked pretzels for more than 24 hours draws moisture from the pretzel's interior outward, creating blisters of salt on the pretzel's surface.)
Bake as indicated in the recipe.
.avif)
Video
Honors Members Section
This extra material is accessible to Sugarologie Honors members.
Become a member to view extended research notes, technique analysis, and supplemental materials! Learn more about Sugarologie Honors here.
Already a member?
Before starting the recipe, please read this!
Measure by weight, if possible.
Measuring by weight is the best way for you to replicate my recipes. I develop recipes using ingredients (even liquids) measured in grams, which is why you see them listed first in the recipe cards. For measurements under 5 grams, I will typically only list the volumetric measurements (teaspoons, etc.), as most home scales are not precise for such small weights.
In most cases, I have converted grams to volumetric measurements (aka US customary units) for bakers who prefer this method. However, the measurements are not as precise and may have awkward proportions. The recipes should still work, but for the ultimate precision, try to use weight.
This is the OXO scale I use daily. I also purchased this budget version of a good scale, which I keep at my Mom’s house for baking. If you’re interested in other tools I use for my baking, I’ve compiled a list here.
Use room temperature ingredients.
All my ingredients should be used at room temperature, or 65-75 °F/18-24 °C. I will always indicate if you need something outside this range. If no details are given, room temperature is the default.
Pay attention to the ingredient descriptions.
I try not to be brand-specific, but I will always note an interesting result from a type of ingredient, be it negative or positive.
A specific note regarding salt: I use Diamond Crystal Kosher salt for everything on this site except for frostings. In frostings, you want the salt to dissolve more easily, and kosher salt tends to leave granules behind. If you substitute table salt (more finely granulated) for recipes that list kosher salt, you must use half the volume indicated in my recipes.
Substitutions are hard.
That said, substitutions aren’t impossible but can be the toughest part of recipe development. Small swaps, like reduced-fat milk (2% fat) for whole milk (3.5% fat), usually work fine. However, bigger changes—such as replacing oil with applesauce or sour cream with Greek yogurt—can significantly impact texture and density.
Be wary of general, all-purpose substitutions in baking; I find that usually there is never a one size-fits-all solution. I carefully select ingredients for my recipes, so for the best results, start with the original recipe and modify with caution.
Read all the recipe instructions before beginning.
I’m in the “Pre-read the Chapter before Class Lecture” club... and I invite you to join! Baking new recipes can be intimidating, so let’s set you up for success. I want you to think about timeframes. Most fillings and frostings can be made ahead of time, and give you an extra day for mental space. Also, as you become a more proficient baker, you can anticipate and recognize steps. (“Oh, this has a meringue step, so I’ll need an extra clean bowl…” etc.) Ensure you go down the ingredient list and have everything at the right temperature.
.avif)

.avif)


Authentic Soft Pretzels
Pretzel Dough
- 296 g (1 ⅓ cups) warm tap water (about 100-105°F/38-41°C)
- 3.75 g (1 ¼ teaspoons) instant yeast*
- 540 g (4 ½ cups) unbleached all-purpose flour
- 49 g (3 ½ tablespoons) unsalted butter, melted
- 30 g (2 tablespoons) white sugar
- 1 ½ teaspoons diastatic malt powder**
- 1 ½ teaspoons kosher salt (I use Diamond Crystal, for table salt - use ¾ teaspoon)
Lye Bath
- ½ L (2 cups) of cold water
- 21 g food-grade lye (sodium hydroxide)
- Safety equipment: gloves (latex, nitrile, or plastic) and goggles (or other protective eyewear)
Note: Lye is a corrosive chemical that should be used with care. This article from King Arthur Baking is a great primer on working with lye, and I suggest you read it before getting started.
- Disperse the yeast in water.
Add the warm tap water and yeast to the bowl of a stand mixer (or large bowl if mixing by hand). Use the dough hook (or a whisk) to stir the yeast until it is hydrated and (mostly) evenly distributed. - Form the dough ball.
Add the flour, melted butter, brown sugar, diastatic malt powder, and kosher salt. I use my dough hook to get the mixture going, and then my hands to form the dough into a shaggy ball. If you're kneading by hand, just form the dough into a somewhat cohesive ball. - Develop gluten in the dough.
I use my Kitchenaid mixer on setting 3 for about 5-8 minutes. You can also do this manually on the counter by hand if you like, for the same amount of time. Knead until you reach high gluten development. When you’re finished, the dough should be incredibly smooth and elastic, and you should be able to form it into a firm ball. - Bulk ferment the dough.
Remove the dough briefly to coat the bowl with a bit of oil. Put the dough ball back, cover, and allow to ferment (rise) in a warm spot for about an hour, or until it has doubled in size.
(For reference, I have a proofing setting on my oven, and after an hour at 85°F/29°C, it has doubled in size in my bowl.)
Meanwhile, line two trays with parchment paper and lightly brush them with oil (or spray them). - Shape the dough into pretzels.
Place your dough onto your counter and press out the air a little. It has a good amount of butter and is not overly sticky, so it should not stick to your counter. If it does, you can add a light dusting of flour.
Divide your dough into 12 individual pieces. (That’s about 75 grams each, if you want to get nerdy about it). I like to make little fat logs so they’re easier to roll into long pieces later. Cover with plastic wrap to prevent them from drying out.
To make a pretzel shape, form a long rope by rolling the dough on the counter to about 18-24 inches. The longer your rope, the skinnier the pretzel; the shorter your rope, the more your pretzel bakes with fewer gaps and is more “bun-like.”
Form the letter "U". Take the two legs and cross them twice, then pull the legs down over the base of the "U", pressing gently so they stick. Lay your pretzels on your greased sheets. - Rest the pretzels.
Do not cover (it will hold up a little better in the bath), and let it rest for another 20-30 minutes. I usually let it rest until I’ve set up my dipping station and preheated the oven, then proceed to the next step. You don’t want them to get really poofy - they will be a pain to dip and deflate when baked. If you see them getting poofy, put them in the fridge to slow down when you prep Step 7. - While the pretzels rest, prepare the oven and the bath.
Place a rack in the center of your oven and preheat to 425°F (220 °C).
Place a wire rack onto a parchment-lined tray. This is to drain your pretzels post-dipping, so ensure the wire rack can hold your large pretzel shapes.
Protect your worktop. I have a silicone mat I use now, but I’ve also cut open a plastic shopping bag to place my lye bath on. Even though our solution is diluted, it can still potentially discolor your countertops.
Prepare the lye bath:
“Do as you oughta, add acids (and bases) to water.”
We always want to add acids and bases to the water, and not the other way around. This prevents splashes and localized overheating, which can erupt spontaneously. Combining lye and water is an exothermic reaction, meaning it releases heat. As such, you will feel the bowl get warmer as you mix the two.
Put on your protective gloves and goggles.
Add 500 g (2 cups) of cold water to a non-reactive container, such as stainless steel. Slowly add your lye and whisk until completely dissolved. - Dip your pretzels.
Place your pretzel on a slotted spoon or spider, then place it in the lye bath. Leave them in the bath for 30 seconds, flipping once during this time to ensure both sides are immersed in the solution.
Remove each pretzel, allowing the solution to drain, and place them onto your prepared wire rack.
Once all the pretzels have been dipped, move them back to their oiled-parchment-lined baking trays.
Sprinkle lightly with pretzel/coarse salt (or pearl sugar) if you are serving these the same day. (Leaving coarse salt on baked pretzels for more than 24 hours draws moisture from the pretzel's interior outward, creating blisters of salt on the pretzel's surface.) - Bake for 8-12 minutes.
The pretzels are done when they are slightly puffed and deep golden brown. If you temp your bread, I like my pretzels with an interior temperature of 195-200°F/91-93 °C.Use a spatula to move the pretzels to a cooling rack to cool completely.

Recipe Card - Adriana's Notes
*If you only have active dry yeast, use 1 ½ teaspoons in place of the instant yeast. It’s more important to disperse (or bloom) the yeast in warm water, so make sure to stir well during that step and let it sit for about 5 minutes before moving on with the recipe.
**The recipe will work without diastatic malt powder, which is optional, but it really helps make outstanding pretzels. They will be browner on their exteriors with a soft, cottony texture inside.
Recommended Sugar Lab Recipes + Experiments
%20(1).png)
.avif)

Got room for more dessert?
Subscribe to my Crumby Data newsletter! I share behind-the-scenes looks at recipe development, flavor testing for the Cakeculator, and life as a content creator. It’s free, lands in your inbox every few weeks, and you can unsubscribe anytime...no strings attached :)
Feel free to take a look at previous newsletters here!
.ico)