Black Velvet Cupcakes: no-dye Oreo-flavored cake with black buttercream + Cream Cheese Filling


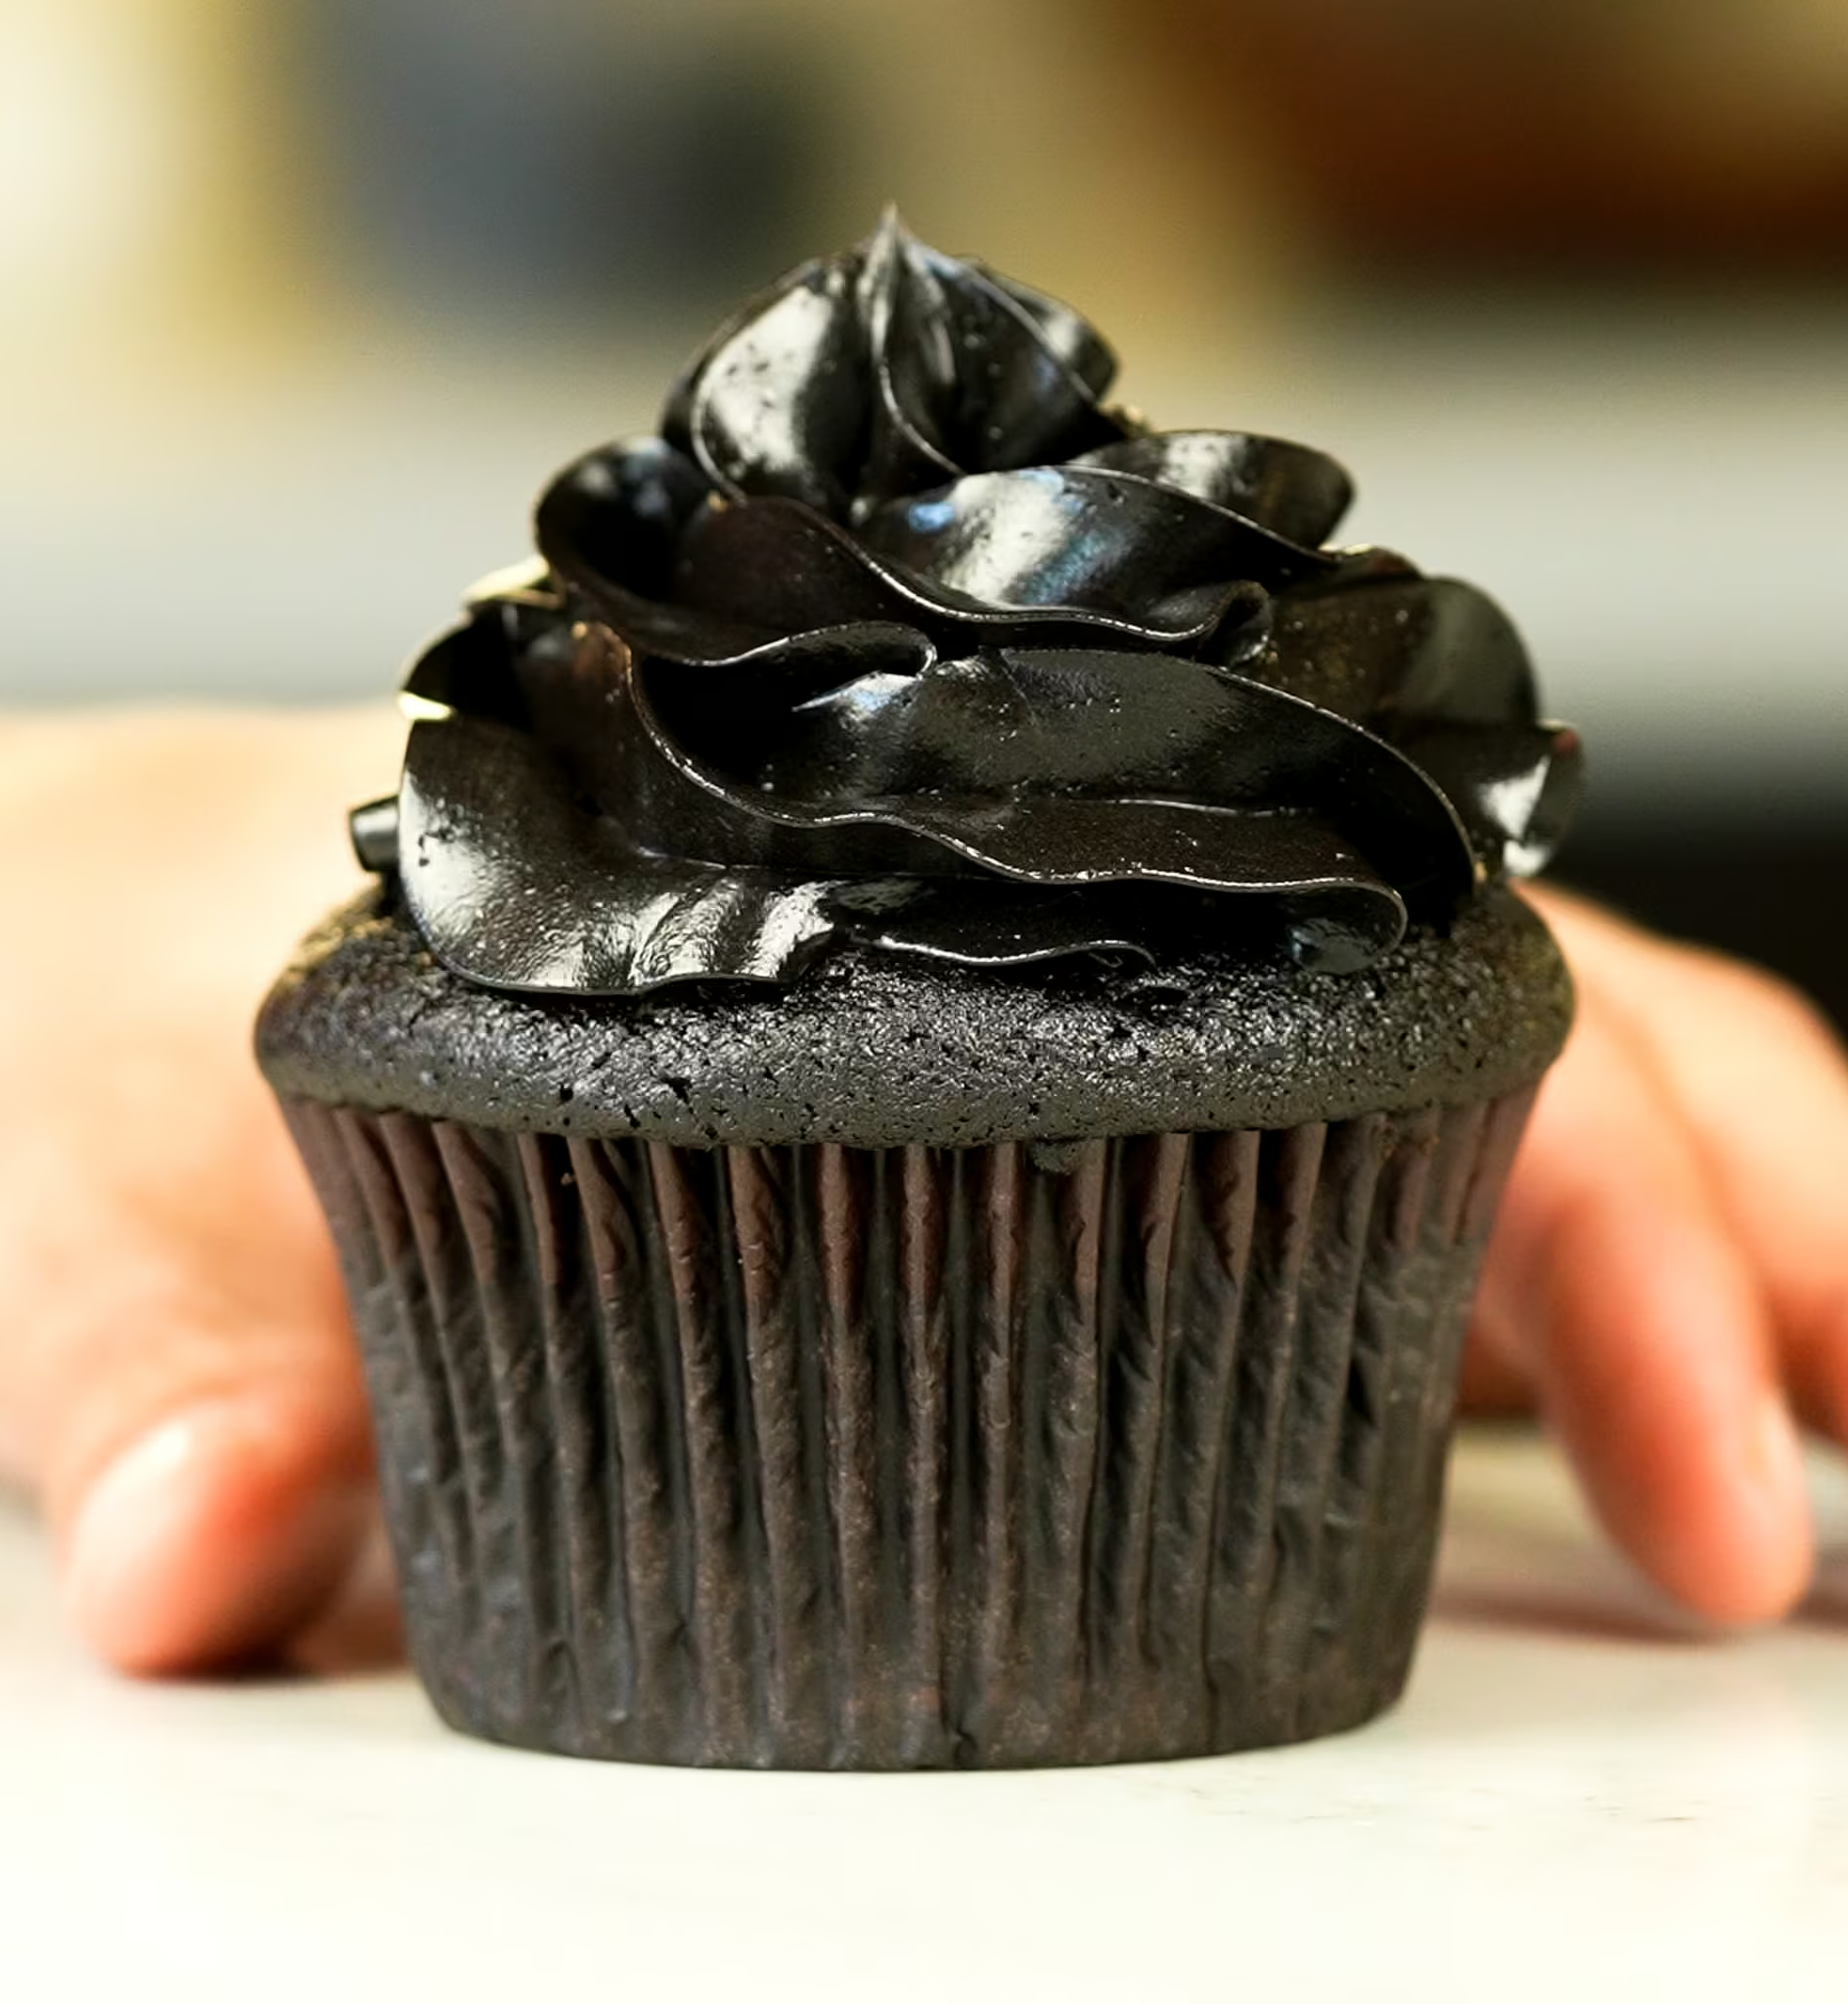
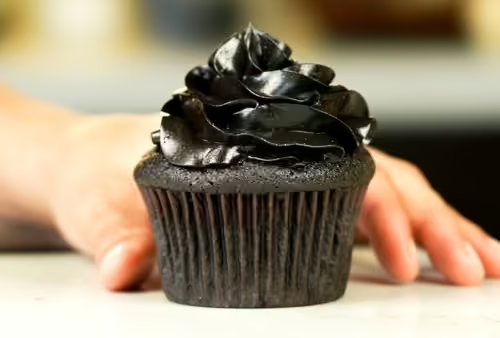
My black velvet cupcakes are Oreos in cupcake form—dark, rich, and completely irresistible. They start with a super-moist black velvet cake filled with tangy cream cheese frosting and topped with a luscious swirl of black buttercream. And the cool part? There’s zero food coloring involved - the bold color and deep flavor come entirely from the black cocoa powder.

If you’ve never had black cocoa before, it’s a highly alkalized (opposite of acidic) version of cocoa powder. The alkalization process transforms the lighter, more astringent cocoa powder. The color turns dramatically dark, the flavor becomes smoother and less acidic, and its solubility increases (this just means it mixes more easily with water).
Bakers often ask if black cocoa can be swapped for Dutch-processed or natural cocoa, but because of the changes I just went over, it can’t be substituted 1:1.
I often see what was clearly a chocolate cake recipe that has simply replaced regular cocoa with black cocoa. And while it might kind of work, it’s not ideal. (A couple of things are that you have to account for the muted flavor of black cocoa by adding another type of chocolate, and you have to adjust the ratio of acidic and basic ingredients, or you’ll get a super-bitter cake.) It’s best to use a recipe specifically created for black cocoa, like this one ;)
What is the flavor of these cupcakes?
This cupcake requires three components: a black velvet cake, cream cheese buttercream for the filling, and The Black Buttercream for the swirled topping. This creates a cupcake that is Oreo-like in both the cake and the frosting (which I always describe as tasting like Oreo cookie butter) and a filling that is slightly tangy due to the addition of cream cheese. The balance of the acidic filling with the slightly dark and bitter chocolate is incredibly delicious.
You can make these cupcakes without the cream cheese filling for a pure black cocoa cake or even choose a different frosting - I’ll give you those options down below.
.avif)
Step by step:
This section walks you through assembling the cupcakes after all the components are made. I usually make the frostings and fillings first, then bake the cupcakes last. You can do everything in one day, but I often prep the frostings a day or two ahead and refrigerate them. I have a post here about storing frostings.
Here’s a visual of the steps required to make these cupcakes:
.avif)
Once assembled, serve the cupcakes the same day or store them in cupcake containers. Because these are filled with cream cheese frosting, they can sit at room temperature for up to 4 hours but should then be refrigerated.
Need help with the frostings? Check out my full guides on The Black Buttercream and Cream Cheese American Buttercream.
Here's how you make the cupcakes:
STEP 1 | Remove the centers of each cupcake, reserving the tops.
.avif)
STEP 2 | Pipe about one tablespoon of cream cheese frosting into each cupcake.
.avif)
STEP 3 | Put the tops back on each cupcake.
.avif)
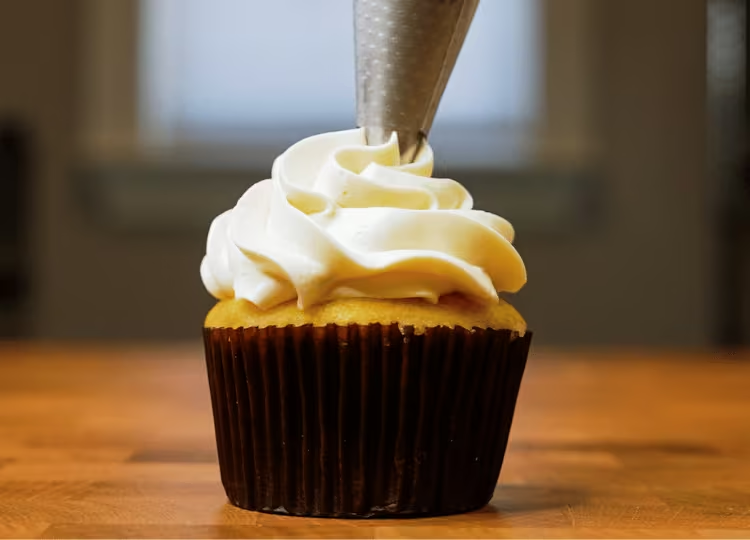
STEP 4 | Pipe a swirl on top of each cupcake.
.avif)
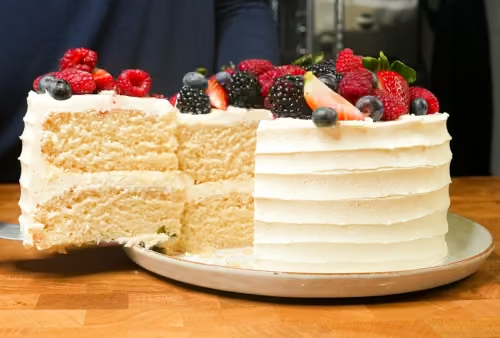
Can I use a different frosting? Can this be made into a cake?
Yes and yes. I have built an app on the site that allows you to select all these options based on your needs. Go to the Cakeculator:
Choose “Black Velvet” for the cake flavor. There, you can choose any cake size and any frosting of your choice. We’re making one dozen of these lovely cupcakes, so check out the recipe card down below!
Video
Honors Members Section
This extra material is accessible to Sugarologie Honors members.
Become a member to view extended research notes, technique analysis, and supplemental materials! Learn more about Sugarologie Honors here.
Already a member?
Before starting the recipe, please read this!
Measure by weight, if possible.
Measuring by weight is the best way for you to replicate my recipes. I develop recipes using ingredients (even liquids) measured in grams, which is why you see them listed first in the recipe cards. For measurements under 5 grams, I will typically only list the volumetric measurements (teaspoons, etc.), as most home scales are not precise for such small weights.
In most cases, I have converted grams to volumetric measurements (aka US customary units) for bakers who prefer this method. However, the measurements are not as precise and may have awkward proportions. The recipes should still work, but for the ultimate precision, try to use weight.
This is the OXO scale I use daily. I also purchased this budget version of a good scale, which I keep at my Mom’s house for baking. If you’re interested in other tools I use for my baking, I’ve compiled a list here.
Use room temperature ingredients.
All my ingredients should be used at room temperature, or 65-75 °F/18-24 °C. I will always indicate if you need something outside this range. If no details are given, room temperature is the default.
Pay attention to the ingredient descriptions.
I try not to be brand-specific, but I will always note an interesting result from a type of ingredient, be it negative or positive.
A specific note regarding salt: I use Diamond Crystal Kosher salt for everything on this site except for frostings. In frostings, you want the salt to dissolve more easily, and kosher salt tends to leave granules behind. If you substitute table salt (more finely granulated) for recipes that list kosher salt, you must use half the volume indicated in my recipes.
Substitutions are hard.
That said, substitutions aren’t impossible but can be the toughest part of recipe development. Small swaps, like reduced-fat milk (2% fat) for whole milk (3.5% fat), usually work fine. However, bigger changes—such as replacing oil with applesauce or sour cream with Greek yogurt—can significantly impact texture and density.
Be wary of general, all-purpose substitutions in baking; I find that usually there is never a one size-fits-all solution. I carefully select ingredients for my recipes, so for the best results, start with the original recipe and modify with caution.
Read all the recipe instructions before beginning.
I’m in the “Pre-read the Chapter before Class Lecture” club... and I invite you to join! Baking new recipes can be intimidating, so let’s set you up for success. I want you to think about timeframes. Most fillings and frostings can be made ahead of time, and give you an extra day for mental space. Also, as you become a more proficient baker, you can anticipate and recognize steps. (“Oh, this has a meringue step, so I’ll need an extra clean bowl…” etc.) Ensure you go down the ingredient list and have everything at the right temperature.
.avif)
Black Velvet Cupcakes with Cream Cheese Filling and The Black Buttercream


The Black Buttercream
Yield: 2 ¼ cups
Prep time: 30 minutes
Total time: 30 minutes
- 62 g (¼ cup) heavy cream
- 90 g (⅓ cup) boiling water
- 32 g (⅓ cup) black cocoa powder, sifted⟡
- 3 g (1 ⅛ teaspoons) Dutch-processed cocoa powder, sifted
- 19 g (3 ¾ tablespoons) milk powder⟡⟡
- 10 g (¾ tablespoon) vanilla extract
- 170 g (¾ cup) unsalted butter
- 150 g (1 ¼ cups) powdered sugar (1), unsifted
- 60 g (½ cup) powdered sugar (2), unsifted
- 2 g (⅛ teaspoon) cream of tartar⟡⟡⟡
- 2 g (⅛ teaspoon) fine sea salt
Cream Cheese Buttercream Filling
Yield: 1 cup
Prep time: 20 minutes
Total time: 20 minutes
- 75 g (⅓ cup) full-fat cream cheese, block style, cold from fridge
- 65 g (5 tablespoons) unsalted butter, cold from the fridge
- 93 g (¾ cup + 1 teaspoon) powdered sugar*, unsifted
- ¼ teaspoon vanilla extract
- Smallest pinch of table salt
Black Velvet Cupcakes
Yield: 12-14 standard-sized cupcakes
Prep time: 25 minutes
Cook time: 25 minutes
Total time: about 1 hour
- 57 g (2 ounces) semisweet or dark chocolate*
- 22 g (4 tablespoons) black cocoa powder**
- 122 g (½ cup) water, boiling hot
- 213 g (1 cup) brown sugar, either light or dark
- 60 g (¼ cup) sour cream, full-fat
- 110 g (½ cup) vegetable oil
- 1 teaspoon kosher salt
- 100 g (2 large) eggs
- 120 g (1 cup) all-purpose flour, bleached or unbleached
- 1 ¼ teaspoons baking powder
The Black Buttercream:
- Remove butter and heavy cream from the fridge.
Cut the butter into 2-inch chunks and let it soften slightly for about 10 minutes at room temperature (an ideal temperature is 55-65°F (13-18°C)). Allow the heavy cream to reach room temperature, or warm it slightly in the microwave until it feels warm to the touch.
- Make the black cocoa syrup.
In a measuring cup with markings on the side (you’ll need these to read amounts for later), combine cream and boiling water. Whisk vigorously for about 30 seconds, then let sit for a minute.
Whisk in black and Dutch-processed cocoa powders until smooth, followed by the milk powder. Let the cocoa syrup cool completely to room temperature. Place the cup in an ice water bath or refrigerate to speed up cooling. After it’s cool, whisk in the vanilla extract. - Smooth the butter and add the black cocoa syrup.
Add the softened butter to the food processor bowl and pulse until it is somewhat creamy. It may still have chunks in it since it’s hard to get all the butter at the bottom to mix.
Now, we can add the syrup, which must be done in at least three additions. Start with a healthy splash (approximately a quarter of the mixture, if you prefer precision) and pulse until the butter turns a light gray. During this first addition, you may need to scrape periodically to get the butter down.
Then, use the markings on your measuring cup and add half of the remaining syrup. Pulse to mix the liquid and scrape occasionally to get the residual black liquid and butter chunks down towards the blade. When the syrup is completely emulsified, the frosting will appear solid gray with no visible streaks of syrup. Repeat for the remaining syrup.
After this step, the buttercream should be gray yet still thick and creamy with no streaks of syrup. Scrape down the bowl. - Add powdered sugar (1) to the processor.
Add half of the powdered sugar (labeled as powdered sugar (1)), pulse, and run continuously until the mixture is fully integrated and thick. Add the remaining powdered sugar, along with cream of tartar and a pinch of fine salt, and repeat the mixing process. Scrape down the bowl. - Taste and add powdered sugar (2) to the frosting.
Based on your preference, taste the frosting and decide if additional powdered sugar (labeled as powdered sugar (2)) is needed. Add as desired and pulse to combine. Check the consistency and color; it should be dark, smooth, and glossy, perfect for piping or spreading.
For a super glossy finish, run the processor for an additional 5-10 seconds.
Store on the countertop until it's time for cupcake assembly.
Cream Cheese American Buttercream (for filling the cupcakes):
- Smooth out the cream cheese.
In a large mixing bowl, mix the cold cream cheese on low speed until smooth, with no lumps remaining. Try to mix as little as possible and stop just when it is smooth.
You can check with a spatula by smearing it around a little, and then scrape out the cream cheese into another small bowl and set aside. - Smooth out the butter.
Cut the cold butter into chunks so it’s easier to work with and add to the same bowl (no need to clean the bowl or attachments). Cream until smooth, with no visible lumps remaining. - Add the powdered sugar in increments.
Add about a third of the powdered sugar (no need to be exact) and mix on low. Once combined, add the next third and repeat the process. With the final addition, mix in the vanilla and a pinch of salt—since the cream cheese is already salted, adjust to taste at the end. If using a hand mixer, this part takes the longest; I use a scraping motion to help it come together faster. - Add cream cheese and smooth out the buttercream.
Add the smooth, cold cream cheese to the butter-sugar mixture and mix on low just until the lumps disappear. Use a spatula to finish blending—it’ll thin out slightly as the cream cheese incorporates. Avoid overmixing to prevent the frosting from becoming too thin and runny.
Store this in the refrigerator until it’s time for cupcake assembly.
Black Velvet Cupcakes:
- Preheat the oven.
Move your rack to the middle position. Preheat the oven to 350°F (177°C). - Prepare the pan.
Add cupcake liners to a standard-sized cupcake tray. - Prepare the chocolate batter.
Chop the chocolate bar (or regular-sized chips) into mini-chip sizes (about ¼ inch/half centimeter chunks) so it melts more easily.
Add the chopped chocolate, black cocoa, and boiling water to a large mixing bowl. Whisk until the chocolate pieces are fully melted.
Add the brown sugar and sour cream and let the bowl sit for about 5 minutes, whisking a couple of times to allow the chocolate to bloom and the black cocoa to neutralize a bit. - Add the rest of the ingredients.
Add the canola oil, salt, and eggs, and whisk until thoroughly combined. Add the flour and baking powder and whisk until no traces of flour remain. - Fill the pan.
Add enough batter to each liner until about two-thirds full. - Bake for about 20-25 minutes.
This is a very moist, fudgy cake. When shaking the pan, the centers should not jiggle. A skewer inserted in the center should have a few moist crumbs. Using a thermometer, the internal temperature should be between 190°F and 200°F (88 °C and 93°C). (A 190 °F/88° °C cake will create the fudgiest texture.) - Cool cupcakes.
Carefully place the hot cupcake tray onto a cooling rack. - Remove cupcakes from trays.
Once the cupcakes have cooled enough to handle, remove them from the trays and place them on a cooling rack to cool completely before frosting.
Assembly:
- Prepare your frostings.
Place your cream cheese frosting in a piping bag fitted with a round tip (½ inch, Wilton 2A) or cut off the tip so that you can easily pipe the frosting into the centers of the cupcake.
Place the Black Buttercream in a piping bag fitted with a star tip of your choice (Wilton A/B are good choices). - Carve little holes in the cupcakes.
Use a small paring knife to cut out the centers of each cupcake, making them slightly larger than a tablespoon in size. Reserve the tops - I like to lay the tops right next to their cupcake so I can match them up correctly :) - Pipe Cream Cheese American Buttercream into the centers.
There’s 1 cup total of the cream cheese frosting and 16 tablespoons per 1 cup. We have 12 cupcakes, so squeeze a little over one tablespoon of cream cheese buttercream into the centers of each.
Place the tops back on. - Pipe the black buttercream onto the cupcakes.
Pipe a swirl onto the top of each cupcake.

Recipe Card - Adriana's Notes
⟡To get the darkest frosting, I prefer Cocoa Trader Black cocoa powder. (I get it at Amazon, here.)
⟡⟡You can use either nonfat, whole, or buttermilk powder in this recipe. I’ve calibrated it so that all will work great. In terms of emulsifying powder, buttermilk powder is the best and yields the thickest frosting. Whole comes in second because of a little extra fat, and nonfat comes in last; yet, it still yields a silky smooth, stable black frosting.
⟡⟡⟡Cream of tartar is an acidic powder used to offset the alkalinity of the black cocoa powder. If you can’t find it, you can substitute apple cider vinegar or powdered citric acid. Just use the same volume amount and add more if you prefer a less alkaline taste.
*You can use either chocolate in bar or chip form. Chips contain different types of more temperature-stable fats, but in this cake, it makes little difference in the final texture. Use semi-sweet chocolate for a sweeter cake and darker chocolates for a less sweet, smokier, cocoa-forward cake.
**Black cocoa powder is natural cocoa that has been alkalized, which changes specific properties of the cocoa, including its solubility, flavor, and color. It's tough to find in stores, so I buy mine online. This cake bakes up lovely and very deep brown to pitch black because of the high ratio of dark chocolate particulates that saturate the liquids. Don’t worry if you have a “black” cocoa that looks a little brown when uncooked. I’ve tested several brands, ranging from medium brown to black, and my favorites for this cake, in order, are King Arthur Flour Black Cocoa, Cacao Barry Noir Intense, Modern Mountain Black Cocoa, and Cocoa Trader Black.
Also, always try to measure cocoa powder by weight. The powder is so fine that getting the correct volume measurements is tricky.


.png)

.avif)

