.png)
.png)
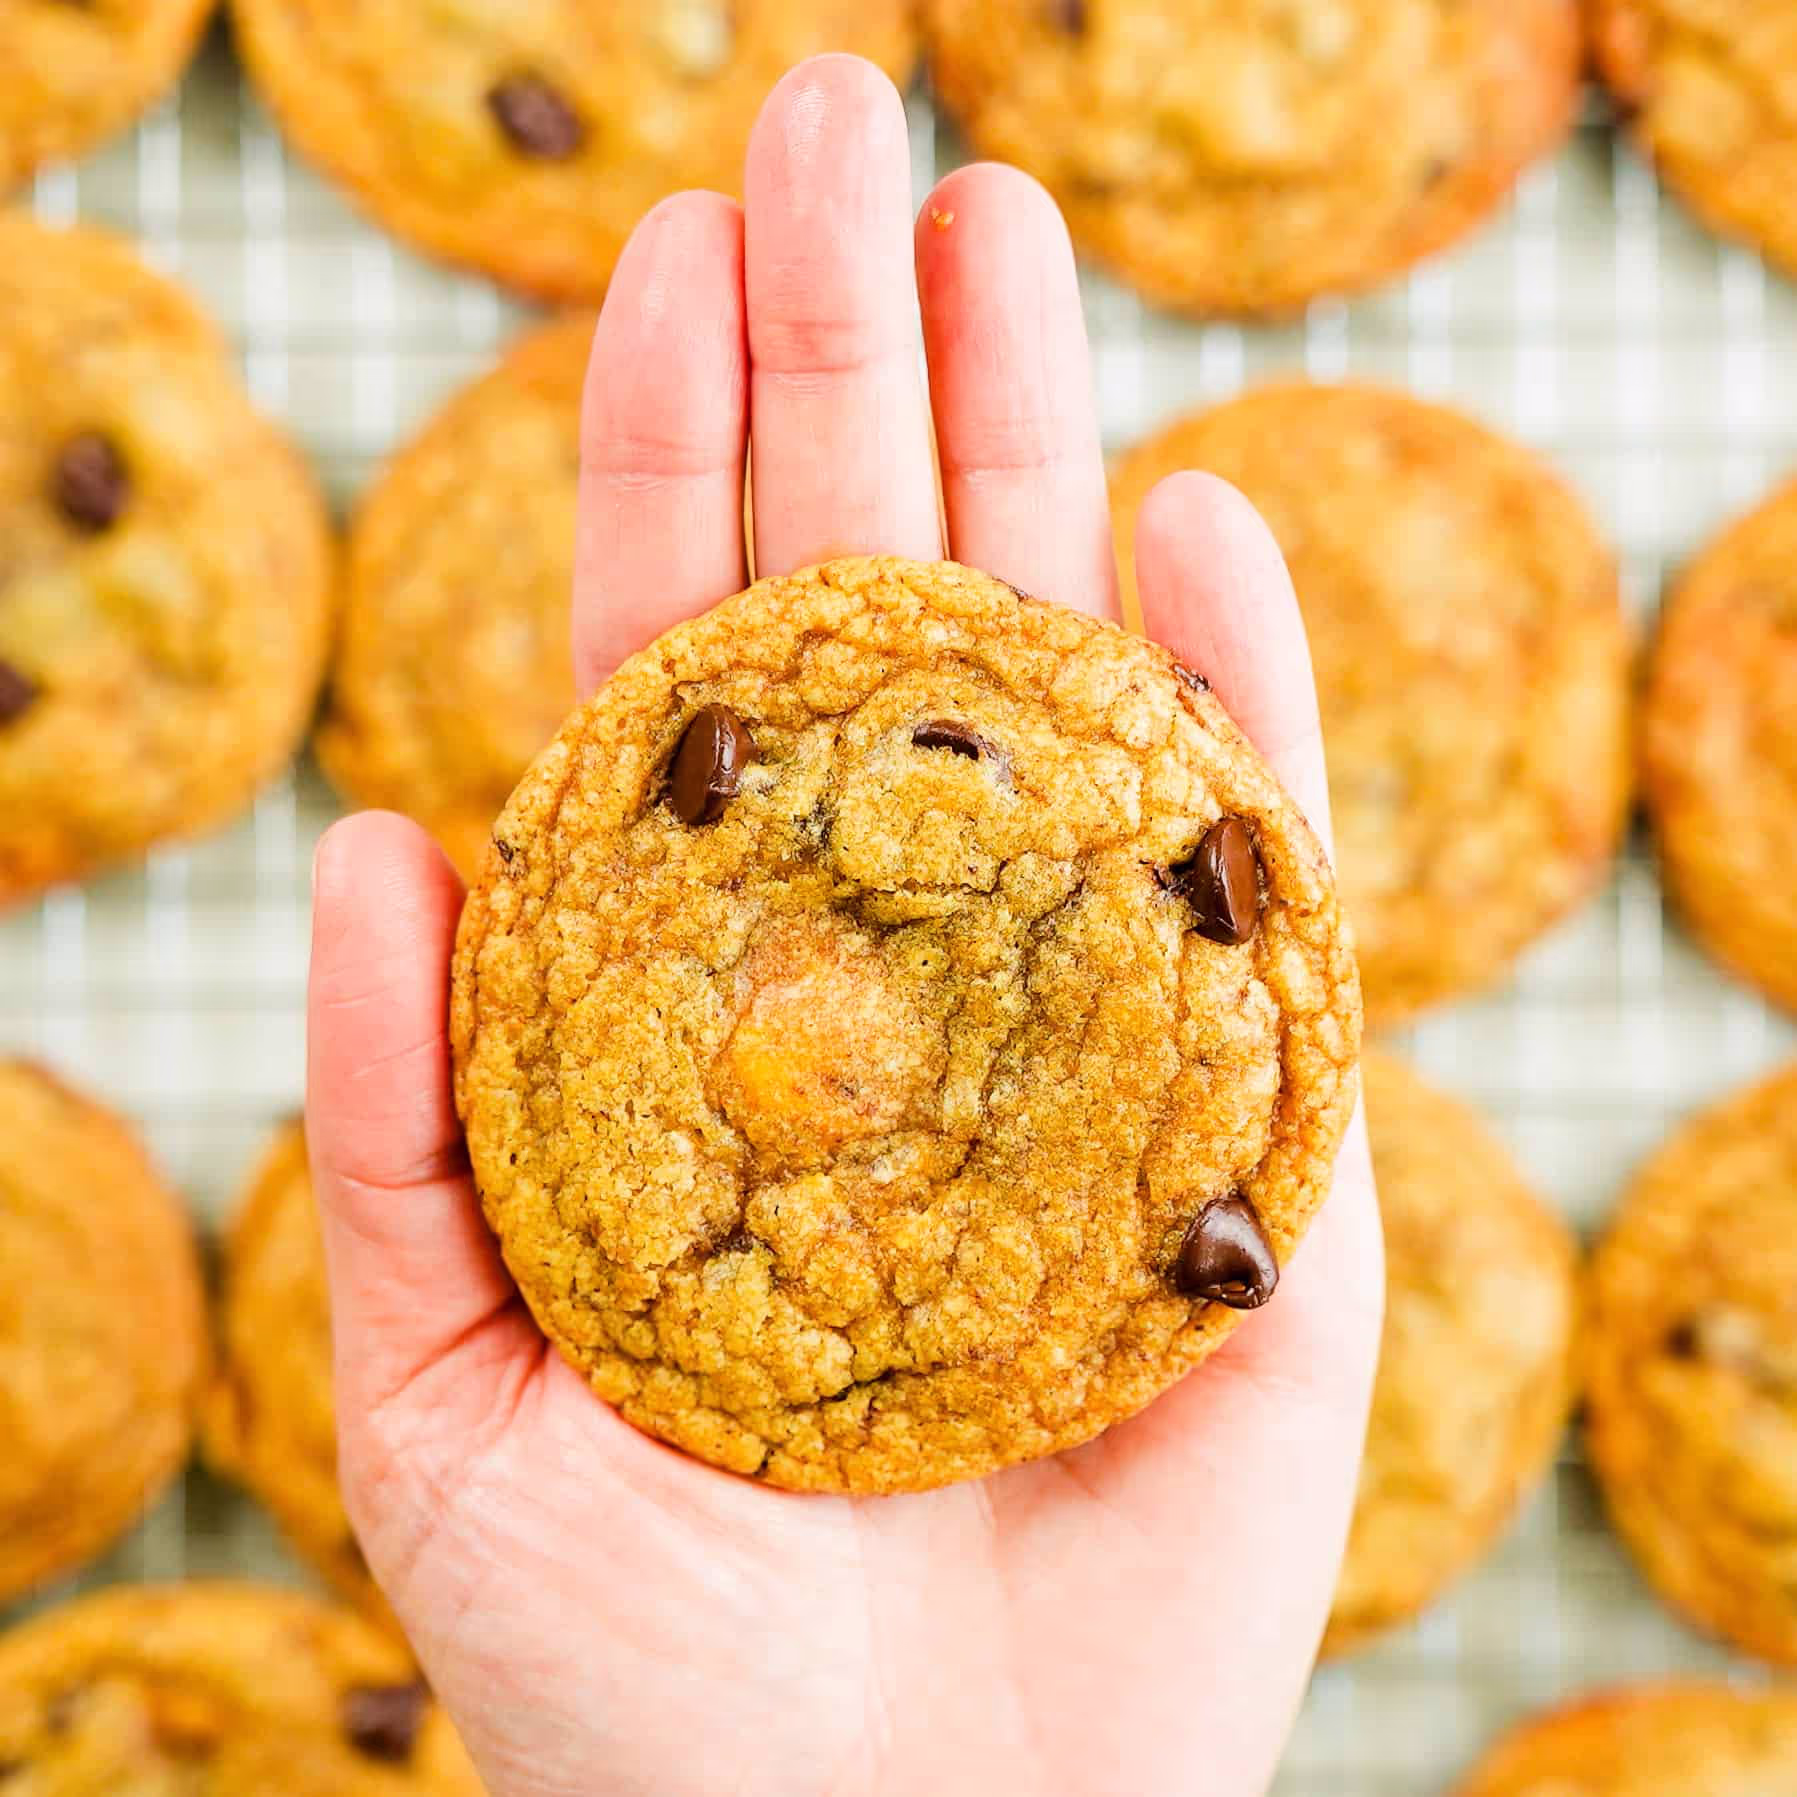
Triple Browned Butter Chocolate Chip Cookies


This cookie is bursting with browned butter flavor with a soft chewy texture and nice crispy butterscotch-flavored edges. Adding dried milk powder significantly increases the amount of flavorful milk solids to my classic chocolate chip cookie, and creates an exceptionally flavored, toasted caramel-like cookie. To add even more flavor complexity, this cookie uses special add-ins (such as pretzels or toffee chips), along with the traditional sweet chocolate chips.

You’ll want to make these if you prefer a cookie that:
- is an intensely browned butter flavored cookie;
- is soft-chewy in the center and crispy on the edges; and
- tastes sweet from dark brown sugar balanced with a touch of salt.

All my chocolate chip cookies were built on the foundation of flavors created from the Maillard reaction. I categorize them based on "flavor levels" and this is a Level 2 cookie because it requires a couple of extra simple ingredients to elevate flavors from a traditional chocolate chip cookie.
(If you're interested my other cookies, my Level 1 cookie is a classic chewy chocolate chip cookie and my Level 3 is my Dulce Delicious Chocolate Chip cookie.)
What ingredients do you need for the triple browned butter chocolate chip cookies?
%2520(1).avif)
Unsalted butter is the primary source of fat in this recipe. In this recipe, we’ll brown the butter, which melts the butterfat, evaporates the water, and toasts the milk solids. This toasting is done via the Maillard reaction, which releases flavorful compounds into the butterfat from browning the milk proteins. I also tend to use unsalted butter in most baking applications because salted butter varies in salt concentration and when used in large quantities.
Milk powder is used to add extra protein to the butter during the browning process. This creates an exceptional super roasted and toasted flavor to the final cookie than if you were to use browned butter alone. You can use nonfat, whole, and sweet cream buttermilk powders in this recipe. They all contain varied fat contents, which may improve the texture of the final cookie slightly, but all typically have around the same amount of protein, which is really the most important part of this ingredient.
When I developed this recipe, it started out with triple the amount of milk protein. Since then, I've add a little bit more of milk powder, so that it's more flavorful and easier to measure (for our baker friends who use tablespoons) so the final recipe is more accurately a "Quintuple Browned Butter Chocolate Chip Cookie." But that's a mouthful, so I left it at triple. :)
Brown sugar is the primary type of sugar, which contains a small fraction of molasses, giving it that brown color and richer toasty flavor. The ratio and types of sugars are important in chocolate chip cookie recipes because they will dictate the spread of the cookie as well as the final texture. Generally, a higher amount of brown sugar to white, causes a cookie to have a chewier texture, such as this cookie. This recipe is written for dark brown sugar, but you can sub light brown sugar too. It will have a lighter molasses flavor and a lighter final color when baked.
White sugar is the second type of sugar. It provides sweetness, a bit of spread, and also a bit of structure.
Water is added to replace the water lost during the browning process. Without adding this small amount into the cookie dough, the final cookie ends up being a little too dry.
Vanilla extract and salt are the flavoring ingredients.
Baking soda is an alkaline powder, which does a couple of things. It reacts with acidic ingredients in recipes (in this case, brown sugar) to create carbon dioxide gas, which expands tiny air bubbles and gives a slightly aerated texture. It has a greater effect, however, on the browned exterior of the cookie. Baking soda increases the rate of the Maillard reaction, which is the browning and toasting of proteins when exposed to sugar and heat.
An egg is added to the cookie dough for structure and moisture.
All-purpose (or plain) flour is the starch in this recipe and gives the cookie structure. You can use either bleached or unbleached flour, but I tend to use unbleached in all my recipes as I prefer the flavor.
Add-ins, such as chocolate chips, add bulk and flavor to the finished cookie. This is an elevated chocolate chip cookie and really benefits from at least one other type of add-in combined with the chocolate.
For this cookie, I like to do as follows: 113g/4oz of chocolate, which is about half semi-sweet chocolate chips and half chopped chocolate from a dark chocolate bar. (Please note that if you use all chips in this cookie, you will get a more compact, smaller, and taller cookie than mine.)
Chocolate chips come in many varieties, but for the most part, these chocolates are manufactured with a special formulation of fats (instead of just pure cocoa butter) that helps the chips retain a classic “drop” shape even after high baking temperatures. This also makes them slightly cheaper than real chocolate products. I like to use semi-sweet chips from Costco in my cookies.
For chocolate chunks, you’ll need a bar that will be chopped into ¼-inch chunks. Because of its cocoa butter content, this type of chocolate melts more easily at baking temperatures. This melts into irregular globs within the cookie dough, but upon cooling, these globs will solidify, creating delicious creamy pockets of chocolatey goodness. The type of chocolate is purely your preference, but I usually do a combination of milk and dark chocolates. My favorite type of chocolate bar comes from Trader Joe’s.
I also add 113g or 4oz of one of these add-ins:

All of these ingredients have undergone the Maillard reaction or caramelization already and is a super easy way to create flavor complexity that aligns with the triple browned butter flavor in this cookie.
- Caramelized white chocolate: I use Cupcake Jemma’s microwave method (her YouTube video is here) and chop the set chocolate into chunks.
- Toffee chunks: You can either make your own toffee or use chopped up Heath bars, like I show above.
- Pecans: Be sure to roast them to get the full flavors from the Maillard reaction, then chop them into pieces.
- Pretzels: The signature brown crust on a pretzel is from the Maillard reaction, usually from dipping the pretzels in an alkaline bath prior to baking. Chop them up before adding to the batter.
- Caramel chips: These are hard to source nowadays, but worth it if you can find them. I get mine at Trader Joe’s during the holiday season and buy several bags to last me throughout the next year.
Step by step:
Step 1: Prep the pans, oven, and the chocolate/add-ins.

Preheat the oven to 375°F/190°C and line a baking sheet with parchment (1a).
Chop your chocolate bar and add-in of your choice into chunks (1b).
Step 2: Brown butter with milk powder.

Grab your (heatproof) mixing bowl for either your stand or hand mixer for easy access. Measure out the milk powder into a small bowl and set that aside for now. Add the butter to a light-colored pan and melt on medium-low heat (2a). Once the butter has melted, and started foaming, and use a heat-proof spatula and stir and scrape the sides and bottom of the pan. Once you start to see the milk proteins turn light brown (2b), lower the heat and sprinkle in the milk power, while constantly stirring (2c).

The foam will turn a beautiful amber color and keep stirring until the milk solids are a deep brown (2d). Immediately pour the melted butter, scraping all the milk solids from the pan and into the bowl (2e).
Step 3: Add the sugars, water, flavoring ingredients, and egg.

Add the brown (3a) and white sugar (3b) to the melted butter. Stir with a spatula for about 20 seconds (3c). Adding the sugars directly to the hot butter brings the temperature down so it doesn’t cook the egg in the next step.

Add the water, vanilla, baking soda, and salt (3d). Mix (either stand or hand mixer) for 4-5 minutes on medium-high speed (3e). You should have an emulsified butter-sugar mixture with no fat separation that looks like this (3f).

Add the cold egg (3g) and mix on medium speed for another minute (3h). The mixture will be slightly lighter in color and just a bit thicker (3i). It will still be quite runny though.
Step 4: Stir in the flour and chocolate.

Do this step by hand. Pour in the flour and use a spatula to stir in (4a). Stir in the chocolate chips/chunks and add-ins (4b). The finished dough texture will be thickened but pretty sticky (4c).
Step 5: Scoop and bake.

Scoop the dough into 2 tablespoon portions (also labeled #30 scoop) about 2 inches apart (5a). Bake for 9-13 minutes.

While they’re hot from the oven, you can use a small bowl or round cookie cutter to create a more circular cookie (5b). Allow to rest on the sheet for about 30 seconds, then move to a cooling rack (5c).
Does this dough need to be refrigerated before baking?
My cookie dough can be baked right after mixing.
Some chocolate chip cookie doughs require refrigeration prior to baking. This can be either because the dough is too soft to bake (and would otherwise melt in the oven) or to “allow the flavors to mature.”
I’ve tested this, and my cookie dough does not benefit much on the flavor front when rested overnight. It does, however, alter the texture just a little bit. The exterior bakes up more shortbread-like and the interior has a softer texture. This is in contrast to the cookie dough that is baked immediately after baking, which has a chewier internal texture. I go more into the science of this in my video below, if you’re interested.
If you would like to store these cookies for later, just mix everything together in the recipe outlined below and portion the dough into dough balls (I like 2 TB size), and place them on a tray until cold. When firm, add them to a zip-top storage bag for up to a month in the fridge or a few months in the freezer.
Please bake by weight if you can.
I research and develop everything on this site using weights (in grams), so they are listed first in the recipe card. Measuring by weight is the best way to replicate my recipes. This is particularly important with fluffy ingredients such as flour, cocoa powder, and powdered sugar.
For measurements under 5 grams, I will typically only list the volumetric measurements (teaspoons, etc.) as most home scales are not precise enough under that weight.
I have converted grams to volumes (cups, teaspoons, etc.) for American bakers who prefer it. These are not as precise and may have awkward proportions (such as ½ cup + 1 tablespoon). However, they still work.
This is the OXO scale I use daily. I also purchased this budget version of a good scale, which I keep at my Mom’s house for baking. If you’re interested in other tools I use for my baking, I’ve compiled a list here.
Video
Check out my video on the science behind these cookies here:
Honors Members Section
This extra material is accessible to Sugarologie Honors members.
Become a member to view extended research notes, technique analysis, and supplemental materials! Learn more about Sugarologie Honors here.
Already a member?
Before starting the recipe, please read this!
Measure by weight, if possible.
Measuring by weight is the best way for you to replicate my recipes. I develop recipes using ingredients (even liquids) measured in grams, which is why you see them listed first in the recipe cards. For measurements under 5 grams, I will typically only list the volumetric measurements (teaspoons, etc.), as most home scales are not precise for such small weights.
In most cases, I have converted grams to volumetric measurements (aka US customary units) for bakers who prefer this method. However, the measurements are not as precise and may have awkward proportions. The recipes should still work, but for the ultimate precision, try to use weight.
This is the OXO scale I use daily. I also purchased this budget version of a good scale, which I keep at my Mom’s house for baking. If you’re interested in other tools I use for my baking, I’ve compiled a list here.
Use room temperature ingredients.
All my ingredients should be used at room temperature, or 65-75 °F/18-24 °C. I will always indicate if you need something outside this range. If no details are given, room temperature is the default.
Pay attention to the ingredient descriptions.
I try not to be brand-specific, but I will always note an interesting result from a type of ingredient, be it negative or positive.
A specific note regarding salt: I use Diamond Crystal Kosher salt for everything on this site except for frostings. In frostings, you want the salt to dissolve more easily, and kosher salt tends to leave granules behind. If you substitute table salt (more finely granulated) for recipes that list kosher salt, you must use half the volume indicated in my recipes.
Substitutions are hard.
That said, substitutions aren’t impossible but can be the toughest part of recipe development. Small swaps, like reduced-fat milk (2% fat) for whole milk (3.5% fat), usually work fine. However, bigger changes—such as replacing oil with applesauce or sour cream with Greek yogurt—can significantly impact texture and density.
Be wary of general, all-purpose substitutions in baking; I find that usually there is never a one size-fits-all solution. I carefully select ingredients for my recipes, so for the best results, start with the original recipe and modify with caution.
Read all the recipe instructions before beginning.
I’m in the “Pre-read the Chapter before Class Lecture” club... and I invite you to join! Baking new recipes can be intimidating, so let’s set you up for success. I want you to think about timeframes. Most fillings and frostings can be made ahead of time, and give you an extra day for mental space. Also, as you become a more proficient baker, you can anticipate and recognize steps. (“Oh, this has a meringue step, so I’ll need an extra clean bowl…” etc.) Ensure you go down the ingredient list and have everything at the right temperature.
.avif)

%20(1).png)


Triple Browned Butter Chocolate Chip Cookies
- 170g (¾ cup) unsalted butter
- 18g (2 tablespoons) milk powder (either nonfat, whole fat, or sweet cream buttermilk)
- 160g (¾ cup) dark brown sugar (packed if measuring by volume)
- 100g (½ cup) white granulated sugar
- 30g (2 tablespoons) water
- 14g (1 tablespoon) vanilla extract
- 3/4 teaspoon salt (I use Diamond Crystal Kosher, use half with finely granulated salt)
- 1/4 teaspoon baking soda
- 50g (1 large) egg, cold from the fridge
- 210g (1 ¾ cups) all-purpose flour, unbleached
- 113g (4 ounces, or approximately 3/4 cup) semi-sweet chocolate chips
- 113g (4 ounces, or approximately 3/4 cup) chopped chocolate, from a bar (a mix of milk and dark chocolate is my favorite)
- Prep the pans, oven, and the chocolate. Arrange a rack in the middle of your oven and preheat to 375°F/190°C.
Place a sheet of parchment paper or a silicone baking mat atop a cookie baking sheet(s).
Chop your chocolate bar and add-ins into chunks. - Brown the butter with the milk powder. Have a large heatproof mixing bowl ready and set that aside. Also, measure out your milk powder into a small bowl.
Then, add the butter to a light-colored pan and melt on medium heat. The butter will first melt, and a cream-colored foam will rise. If the butter sputters and pops, turn the heat down a little lower so it doesn’t make a mess. Take a wooden or silicone spatula and start stirring. The milk solids usually form around the edge and bottom of the pan first. This may take a couple of minutes. Scrape the pan so milk solids don’t stick and burn.
Once the solids are light brown, lower the heat and sprinkle in the milk powder, stirring continuously. A beautiful amber-colored foam will form and keep stirring until the milk solids turn a deep brown. Immediately pour the melted butter into the large mixing bowl, being sure to scrape those toasted milk solids. - Add the sugars, water, flavoring ingredients, and egg. While the butter is still hot, add in both sugars and gently stir with a spatula. This will cool down the butter, but it will still be a little warm, which is fine. Add the water, vanilla extract, salt, and baking soda. Mix with a hand or stand mixer for 4 to 5 minutes on medium-high speed (start slow as it contains a lot of liquid). It will thicken slightly, be a brown color, and have a slightly grainy sugar paste mixture that may still be slightly warm (again, this is ok.)
Add the egg and mix on medium speed for 1 minute. The batter will turn lighter in color and may look slightly curdled/broken. That’s okay as long as you don’t see any streaks of raw egg and everything is mixed together. Scrape the bowl down to ensure everything is mixed at this point. - Stir in the flour and chocolate. Do this step by hand. Add the flour to the bowl and stir in with a spatula. Stir in your chocolate chips and chunks. The dough should be firm enough to scoop and hold its shape and have a sticky texture. If it’s a little runny, allow it to sit at room temperature for about 5-10 minutes.
- Scoop and bake. Using a 2-tablespoon scoop (also labeled #30 scoop), portion out the dough onto the parchment-lined trays. (If you have only one tray, bake them one at a time, allowing the sheet to cool before baking the next round. To help the sheet cool quickly, I run them under cold water for a few seconds until I can touch them with my hands, wipe them dry, and place the parchment back on.) My trays comfortably hold about 10 cookies around 2-3 inches apart. Bake for about 9 to 13 minutes. The sweet spot for my cookies baked in this exact way is 11 minutes.
The cookies are done when they are toasty brown on their edges. They are also a little paler and puffy in their centers. If you take the temps, as long as their centers are 160°F, they have reached the temperature in which they are safe to consume.
Allow them to cool on the tray for about 30 seconds before moving to a cooling rack. You can also use an upside-down bowl or circle cookie cutter to shape the cookies (see my pics above). As they cool, the steam will release, causing the cookies to flatten slightly. This results in cookies that are slightly “underdone” with a chewy texture.
Storage notes:
The cookies are best enjoyed within 24 hours of baking. During this time, they will maintain their crispy exteriors and chewy interiors. You can also save these in an airtight container for a few days, but after the first day, any remaining moisture from the centers will migrate to the surface so that it will no longer have that crispy texture. Instead, you’ll have a chewy cookie, which is also delicious.
Additionally, you can scoop the cookie dough and fridge it in its raw state so that it can be baked at a later time. Or you can take it one step further and freeze little portioned-out dough balls and then place them in a zip-top bag in the freezer for at least a few months. You can bake the frozen dough balls, but allow the dough to come to room temperature before baking.

Recipe Card - Adriana's Notes
*You can use either non-fat, whole, and sweet cream buttermilk powders. The fat content will help a teeny bit in texture, but what we’re really using in this ingredient is the milk protein, which is pretty much the same across the board with these variations. Some nonfat milk powders are a little clumpy, so be sure that when you add it to the hot butter mixture, you mix it into the butterfat a little at a time to ensure it breaks apart and can toast properly.
**If you choose to use all chocolate chips, no matter what flavor, your cookies will not spread as thin as mine in the pics above. The fats contained in chocolate chips are formulated to hold their shape during baking temperatures. Cookies with all chips are smaller in diameter and slightly thicker. Still yummy, but watch your baking times as they will also change.
Recommended Sugar Lab Recipes + Experiments
.avif)
.avif)

Got room for more dessert?
Subscribe to my Crumby Data newsletter! I share behind-the-scenes looks at recipe development, flavor testing for the Cakeculator, and life as a content creator. It’s free, lands in your inbox every few weeks, and you can unsubscribe anytime...no strings attached :)
Feel free to take a look at previous newsletters here!
.ico)